
*You will need a license to follow the steps. Don't have a license yet? Click here to obtain one.
*These steps are only compatible with Lenovo Mirage Solo.
Step 1 - Turn goggles on
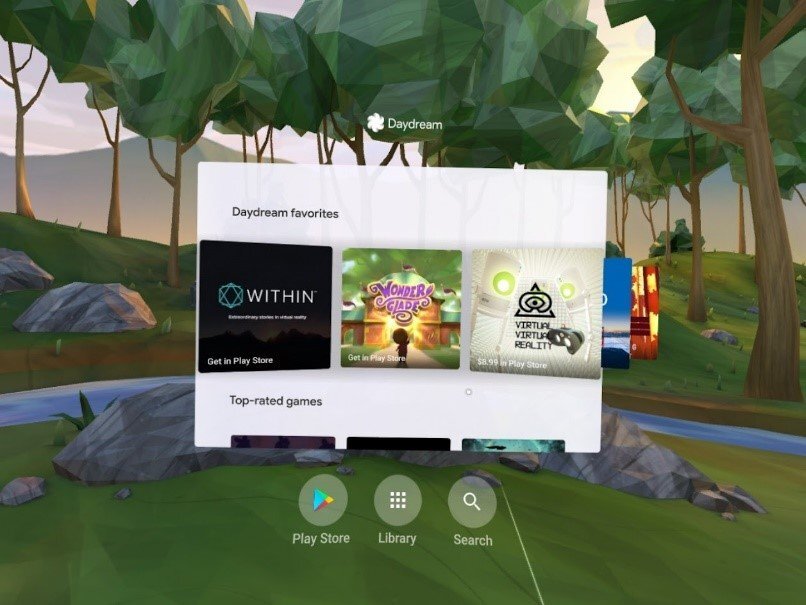
Turn your goggles on by pressing the power button on the (right) side of your headset. Your screen will look like this when your device is ready.
Step 2 - Configure remote
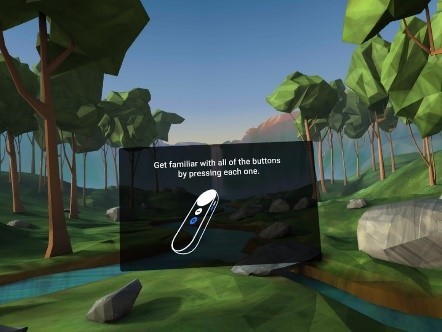
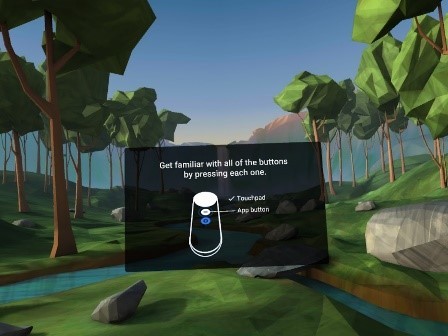
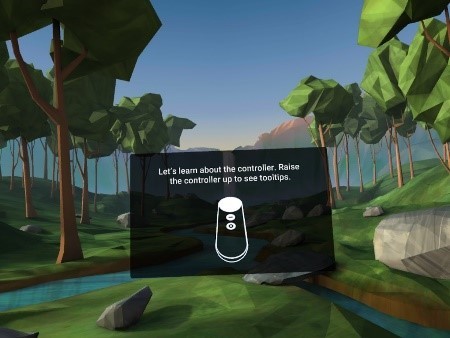
Proceed with the tutorial or skip it by looking down and pointing towards the X on your screen. You may need to configure your remote by holding down the (circle icon) on your remote
 |
 |
 |
Step 3 - Notification center
Make sure your devices are fully charged so the battery does not die in the process. Click the (circle icon) button on your remote to bring up the notification center.
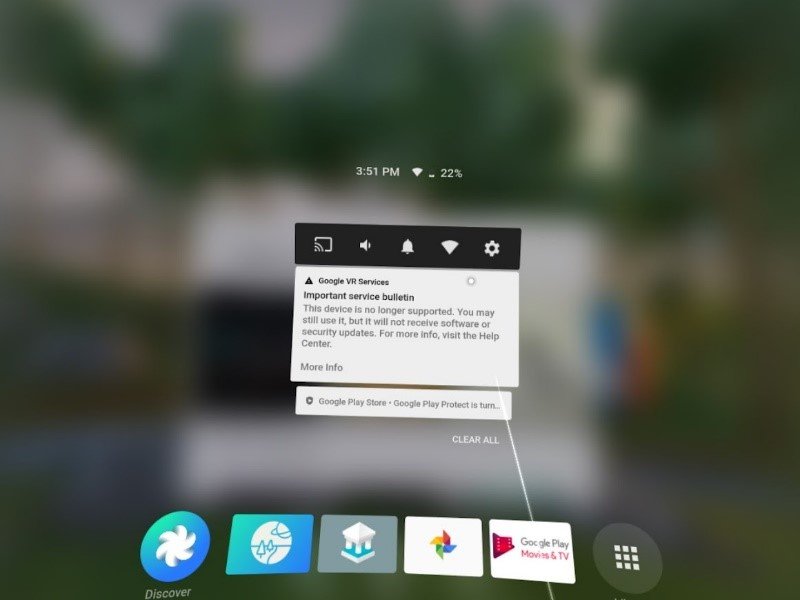
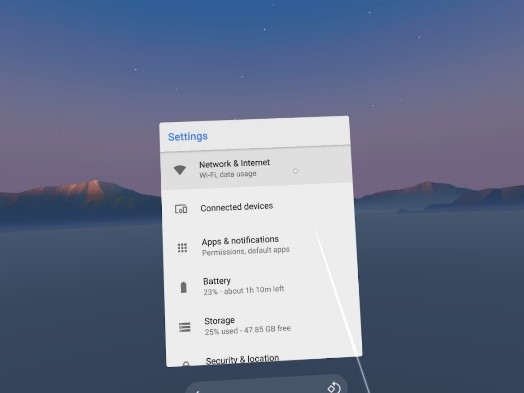
Step 4 - settings
Click the Settings (gear icon) at the top right of your screen using the touchpad button on your remote

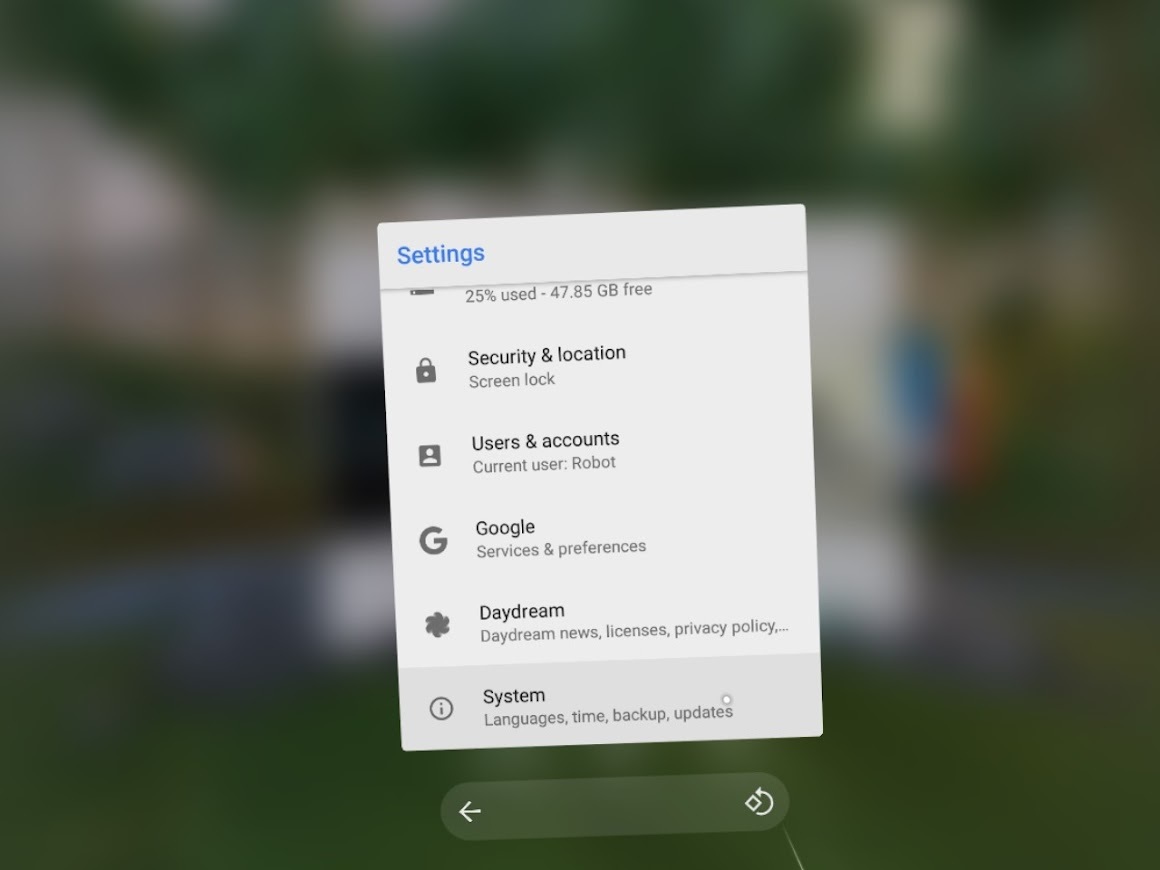
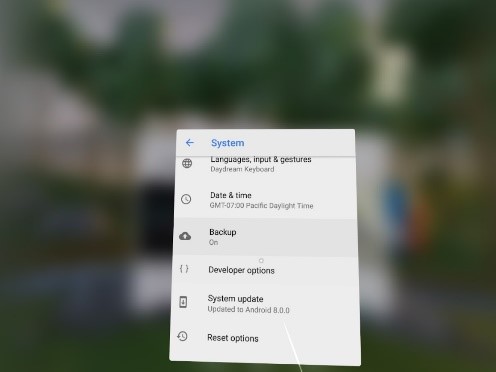
Step 5 - System
Scroll down to the bottom of the page and click on (system)
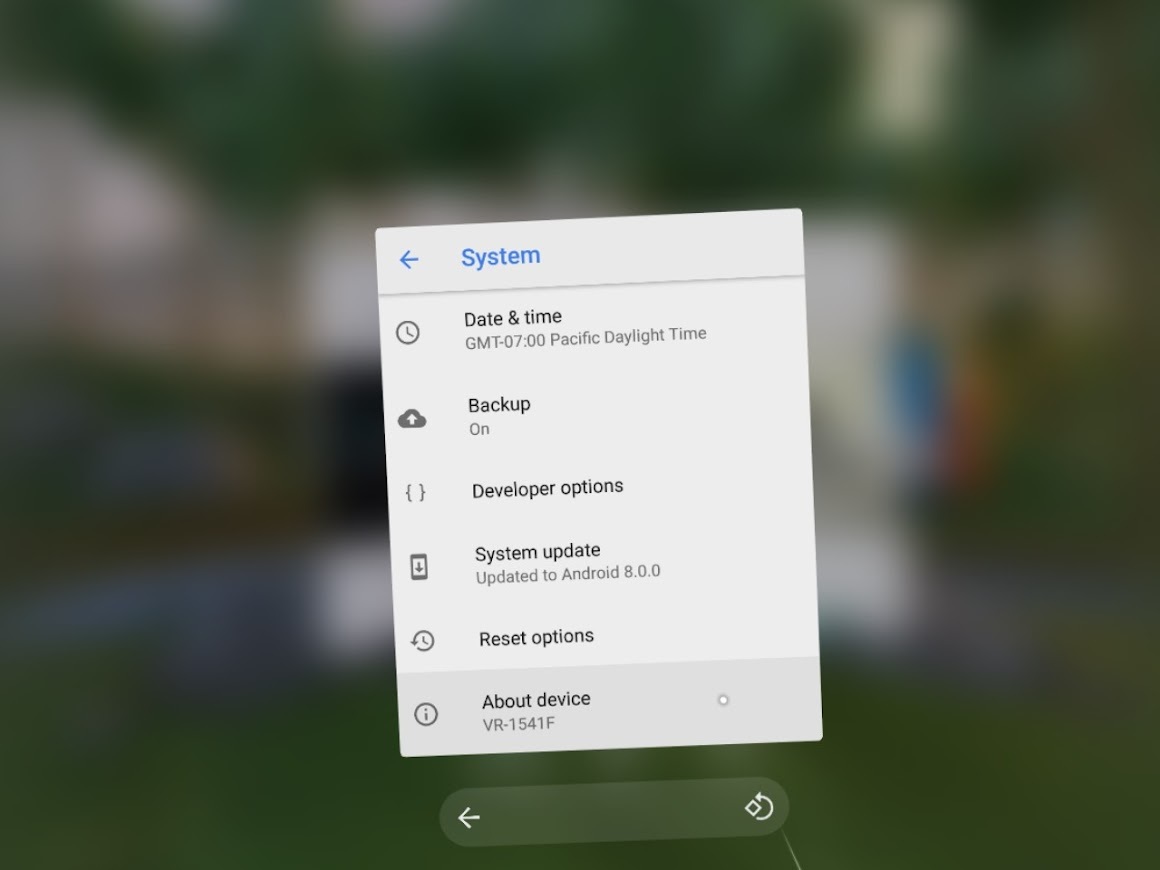
Step 6 - About device
Scroll to the bottom of the page and click (about device).
Step 7 - Build number 7 times
Scroll down and hover over the (build number) option. Click the build number option 7 times. You will get a notification in the center of your screen saying, (You are now a developer) if you do not see this go back and repeat the last given step again.
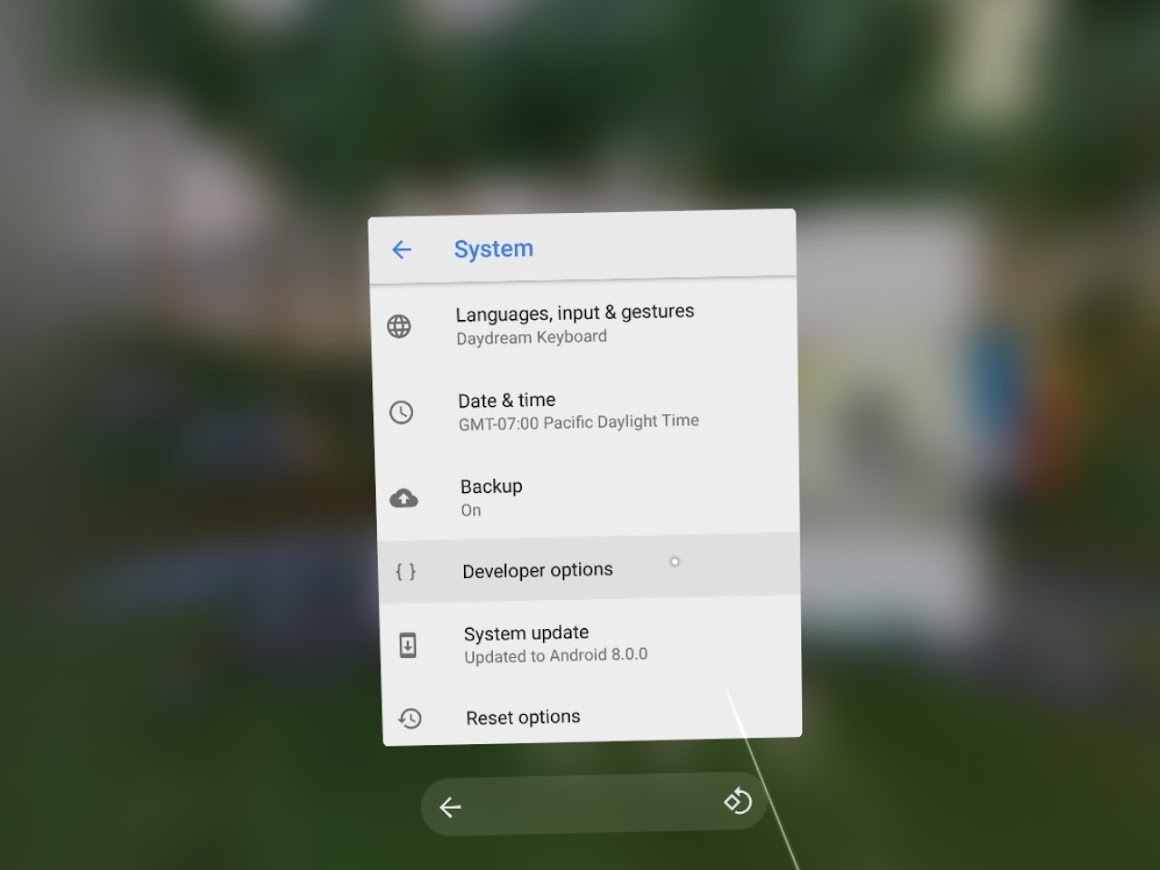
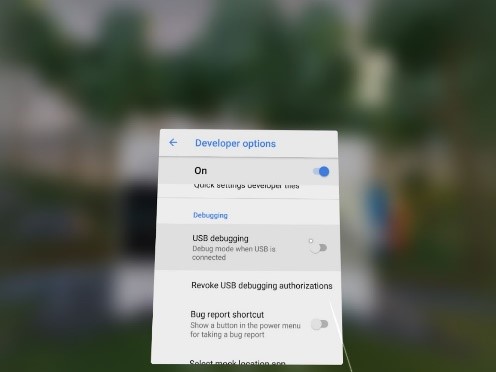
Step 8 - Become a developer
Click the back arrow on the bottom left of your page to get to the (system)
Proceed by clicking developer options. Scroll down until you see (USB debugging). Click the toggle button to allow your device to accept files from your computer.
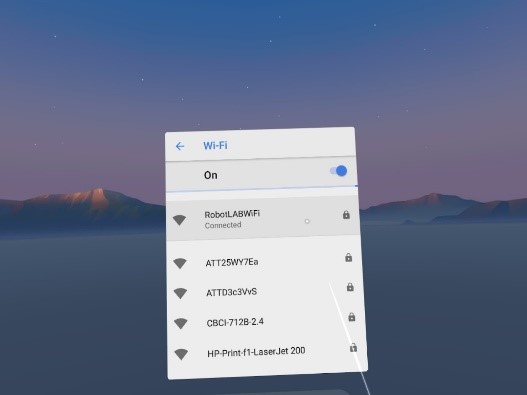
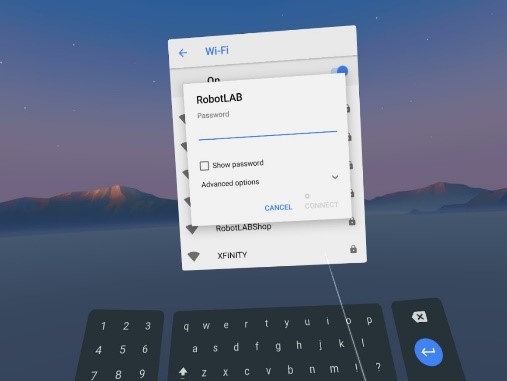
You will need a computer for your next step. You can do this with multiple devices at once but make sure they are all connected to the same Wi-Fi as the teacher's tablet using is on.
Make sure your computer is on and connect using a USB to USB-C cable to your computer and mirage VR goggles. Once your computer is on click the link we've provided which will download the mirage setup.
Make sure to set the connection over USB-C to be MIDI and not Charging only. You can find the configuration under Settings-> Connected devices.
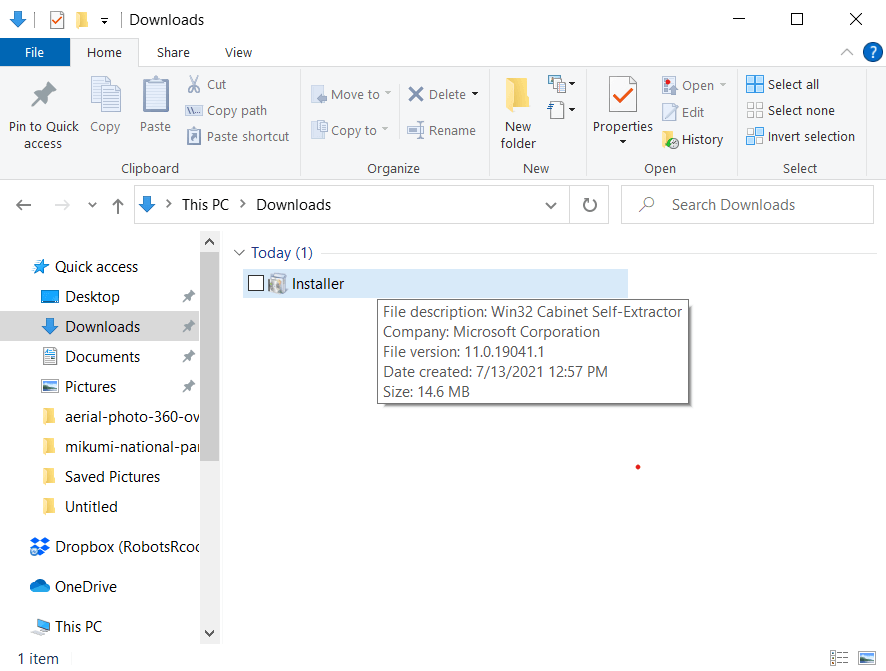
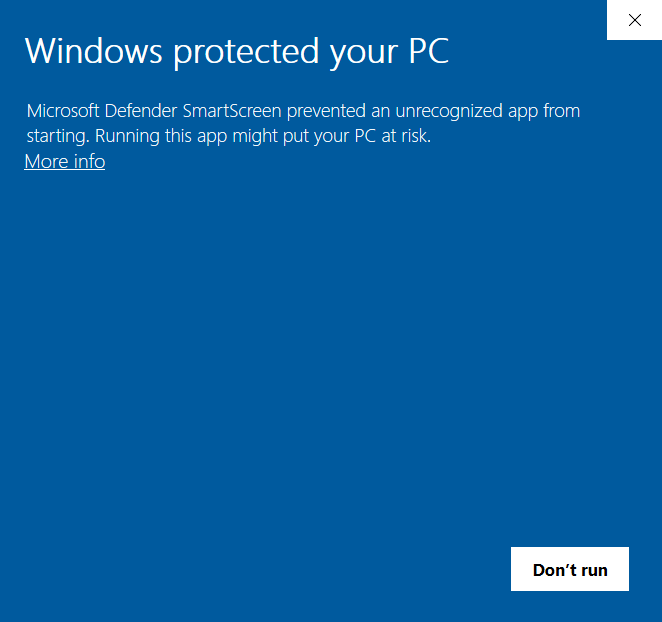
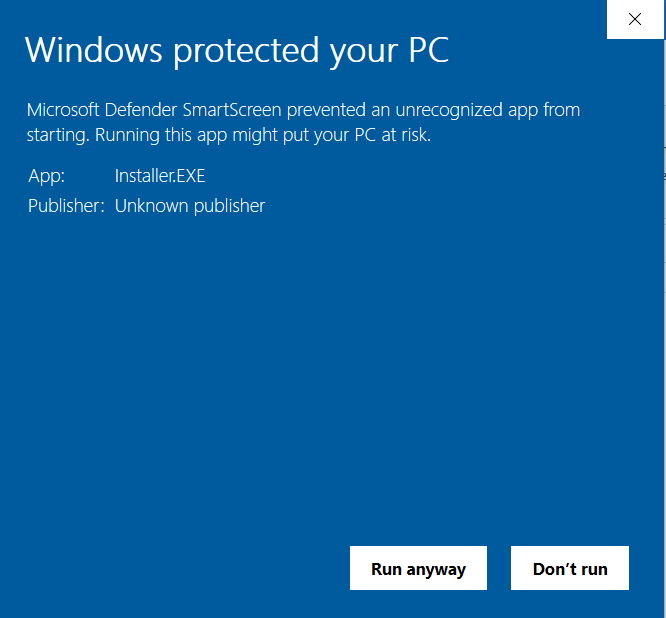
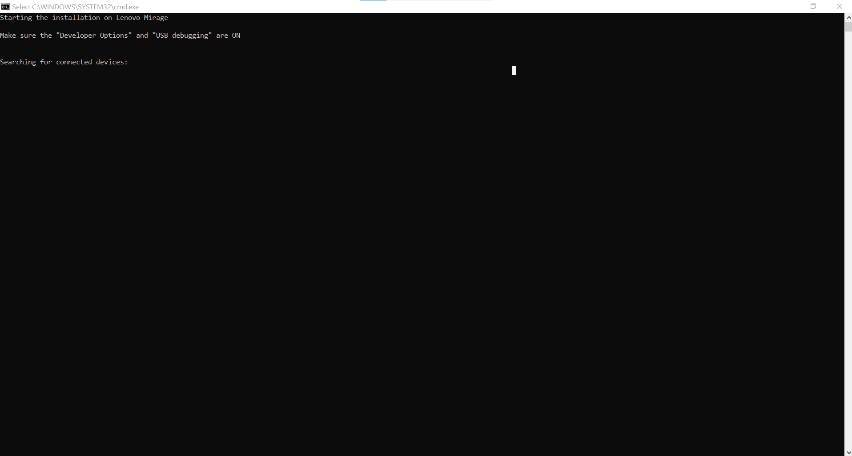
Go to the downloaded folder and run the installer.exe as administrator. Click more info Run anyway and a black screen will appear on your computer. Approve the message that appears on your VR headset.
Step 9 - Installing mirage
You will need a computer for your next step. You can do this with multiple devices at once but make sure they are all connected to the same Wi-Fi.
Turn your computer on and connect a using USB to USB-C Cable to your computer and mirage VR goggles.
Once your computer is booted up please fill out the following form to have access to the installer we provide here which will install the setup for mirage. (Remember that you will need a demo license for the following steps)
Go to your file explorer downloads and double click on installer.exe download. Click more info Run anyway and a black screen will appear on your computer.
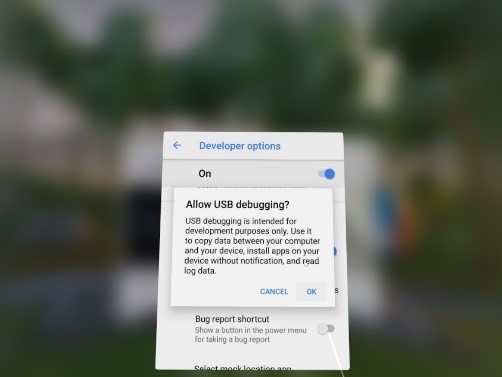
Approve the message that appears on your VR headset.
You will get a pop-up on your VR goggles. Saying allow this device to Allow USB Debugging

Once your download is complete your student expeditions will be on your home page. Look at the bottom of the page and your app will be there ready to start.
Step 10 - Your Download is now completed
Once your download is complete your student expeditions will be on your home page. Look at the bottom of the page and your app will be there ready to start.
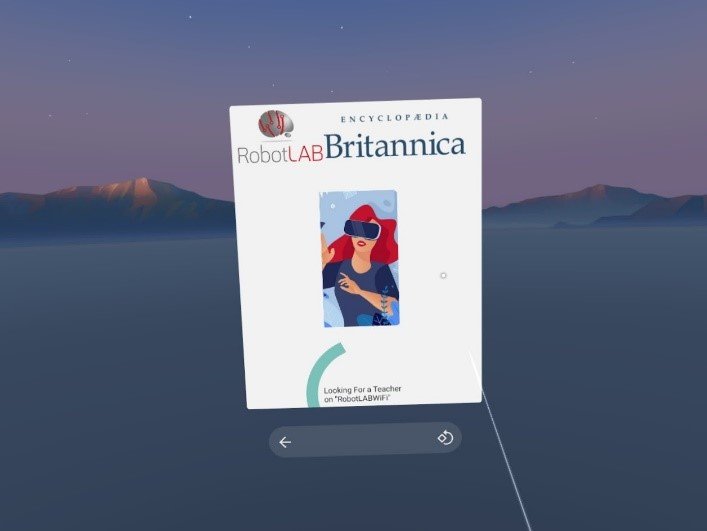
The device is now in waiting mode and can accept scenes sent by the teacher.
Still don't have the Google Expedition replacement? Want to learn more about VR Expeditions 2.0?
Enjoy a Free trial license and visit educational field trips unlike any other!
