 Illustration
Schools
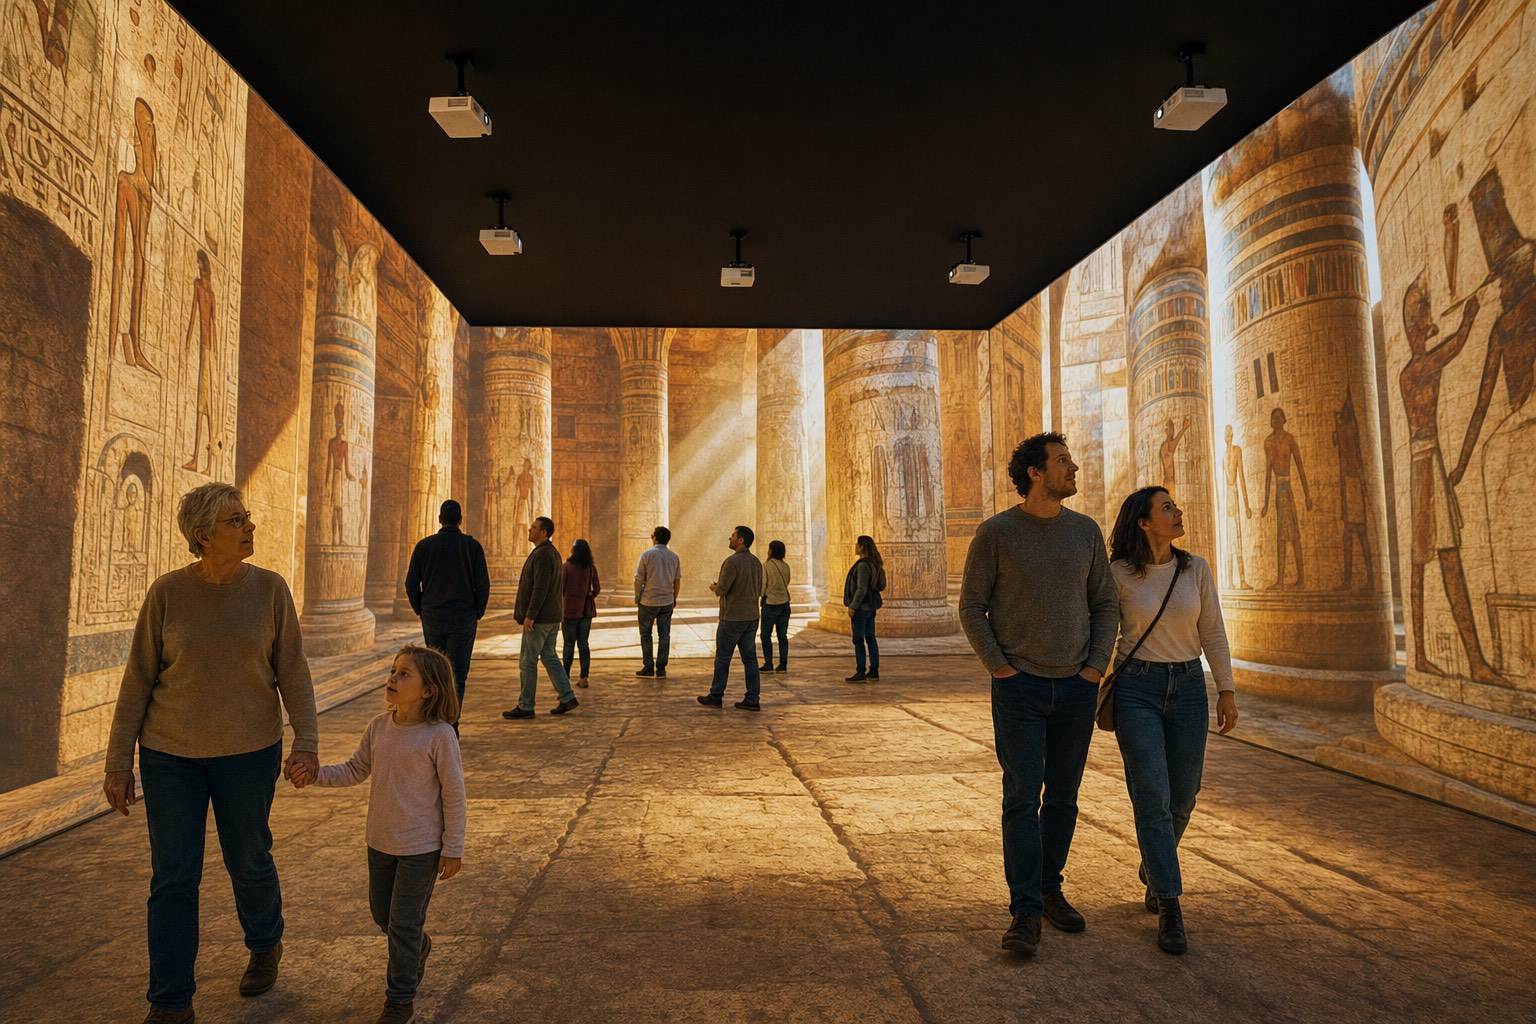
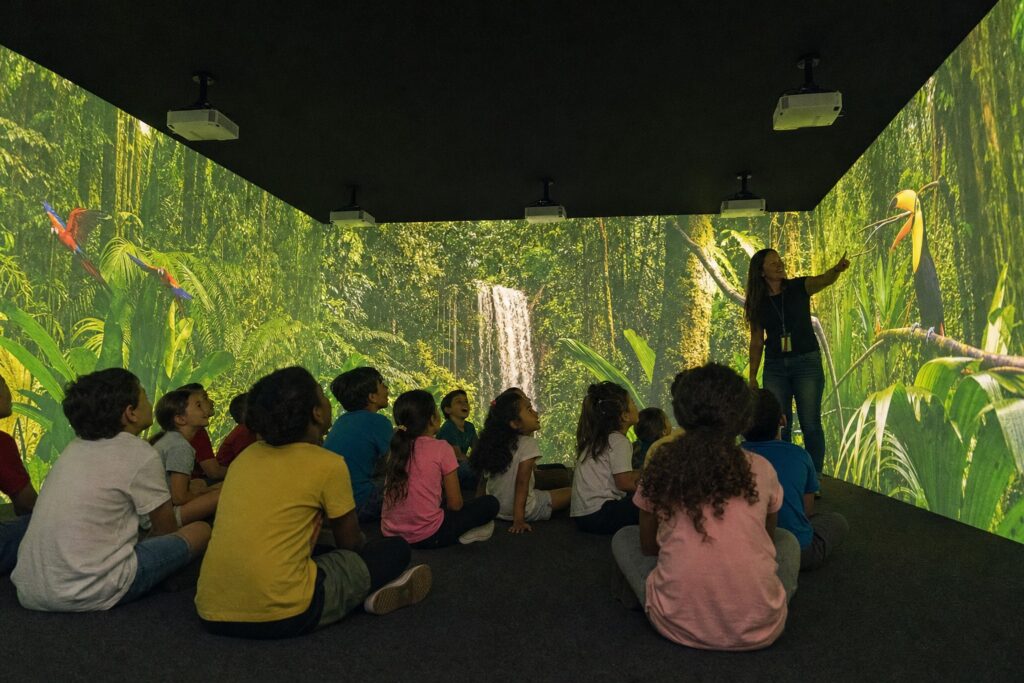
A rainforest for science, a Roman street for history, the night sky for a story read among the stars. Every class takes the same trip together, and the teacher leads it from inside the scene.
How hospitality operators evaluate, deploy, and scale commercial robots.
Tell us your industry and we'll recommend 3-4 robots to shortlist.
We evaluate, certify, and service every robot we sell.
From marketing, sales, demonstrations, and proof-of-concepts through deployment, training, support — and even repair. Local teams, local inventory, same-day service.
By Elad Inbar, RobotLAB founder & CEO — a practical guide to adopting robotics that actually delivers ROI.
About the book →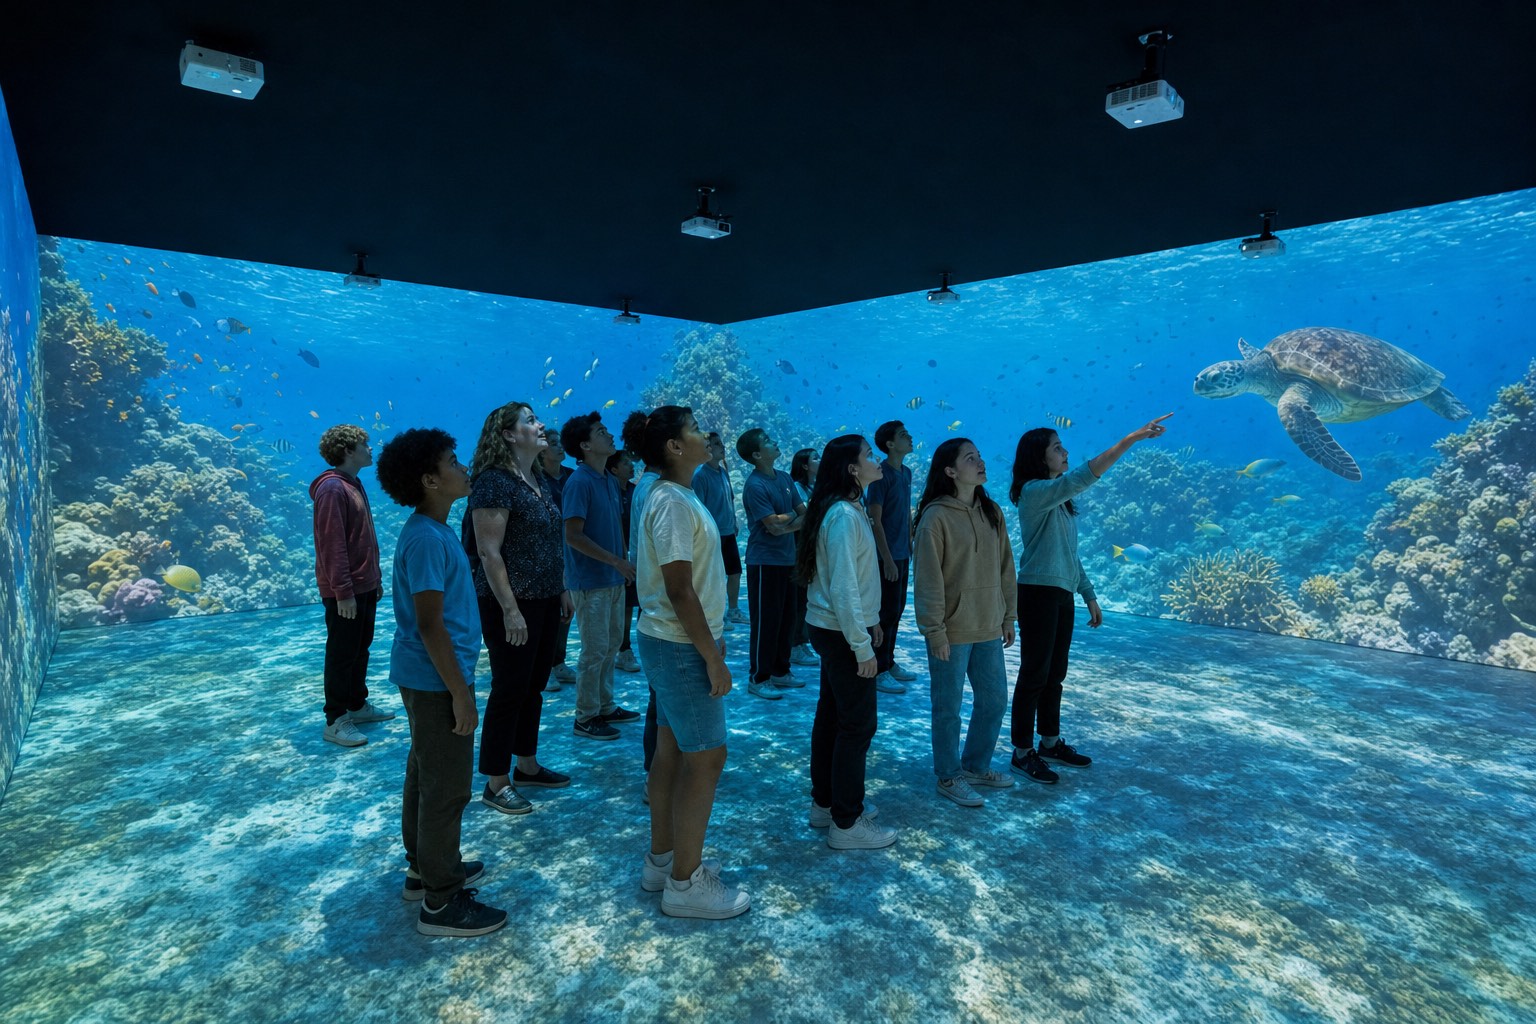
Give us an empty room. We turn it into an immersive learning environment with floor-to-ceiling projection walls, so a whole class can walk into a coral reef, ancient Rome or the night sky together. No headsets.
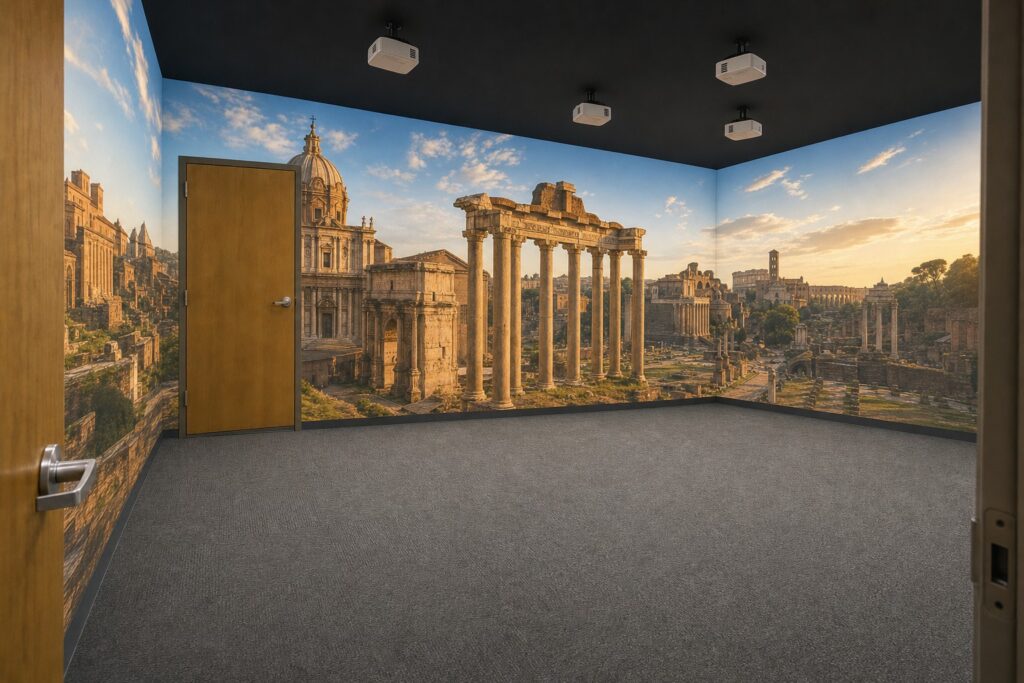
Most rooms work. A classroom nobody uses on Fridays, a spare office, a fellowship hall, a gallery between exhibitions. We design the walls, light, sound and controls around the space you already have, and the room stays yours for every subject, every group and every year after.
Drag the slider to see the same room before and after.
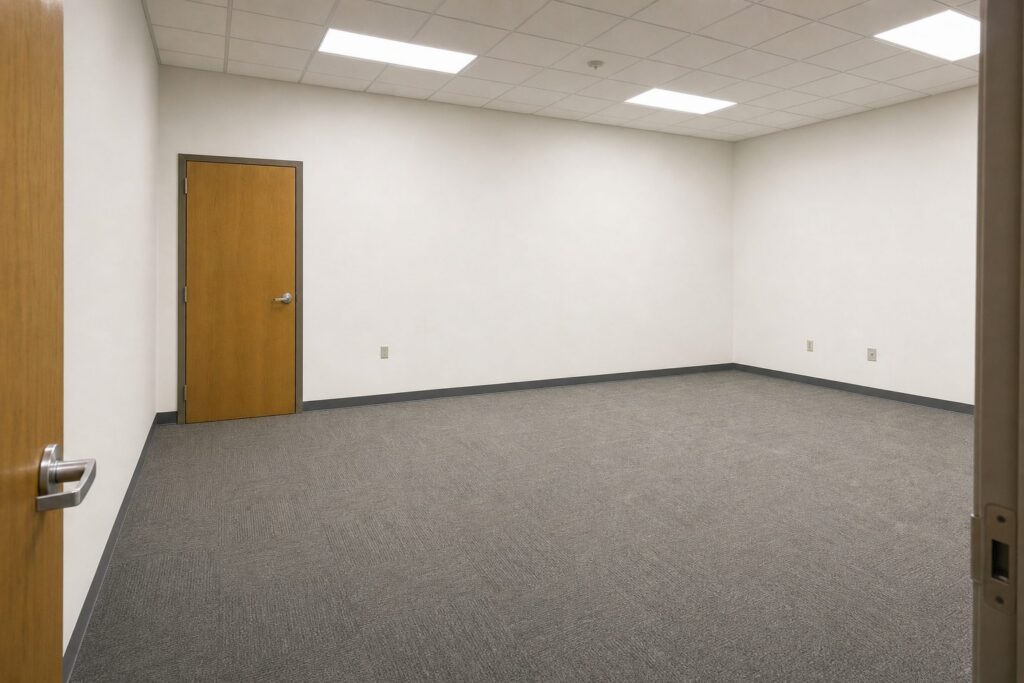
Headsets put one person in a world. An Immersive Room puts the whole group there, and lets them look at each other while they do it.
Already have headsets? Keep them. They are ideal for individual exploration, and the room makes the same expeditions a shared experience.
The scene starts at the floor and ends at the ceiling, so it surrounds the group instead of sitting in front of it.
Thirty people notice thirty different things, and the room is big enough to show all of them.
Questions happen in the moment, in the place, while everyone can still see what the question is about.
A lesson that was a place, not a page, is the one people describe at home that evening.
Our library of guided virtual field trips, from coral reefs and rainforests to ancient cities and outer space, organized by subject and ready to project.
Five libraries of story-driven lessons that put the group inside the subject.
 Bible StoriesFaith & literature
 Greatest CivilizationsHistory
 Scale: From Neutrons to GalaxiesScience
 Financial LiteracyLife skills
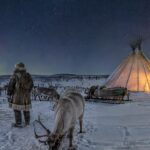 Literature Comes AliveLiterature
Illustration
A rainforest for science, a Roman street for history, the night sky for a story read among the stars. Every class takes the same trip together, and the teacher leads it from inside the scene.
 Illustration
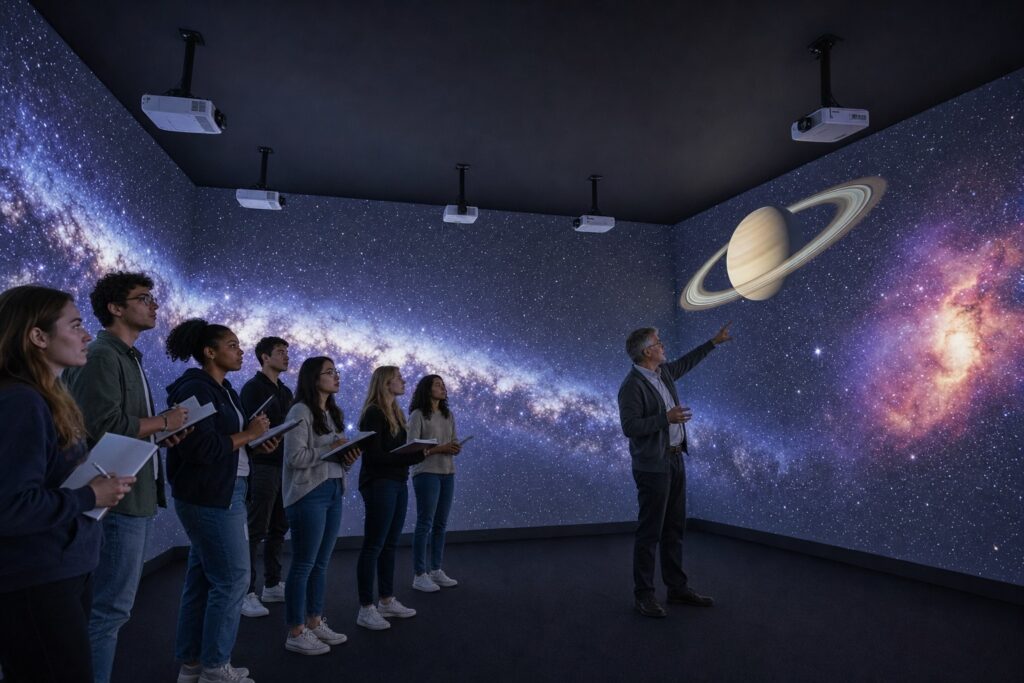
Lecture rooms that become the subject: astronomy with the stars on every wall, architecture at full scale, field sites for students who cannot travel to them.
 Illustration
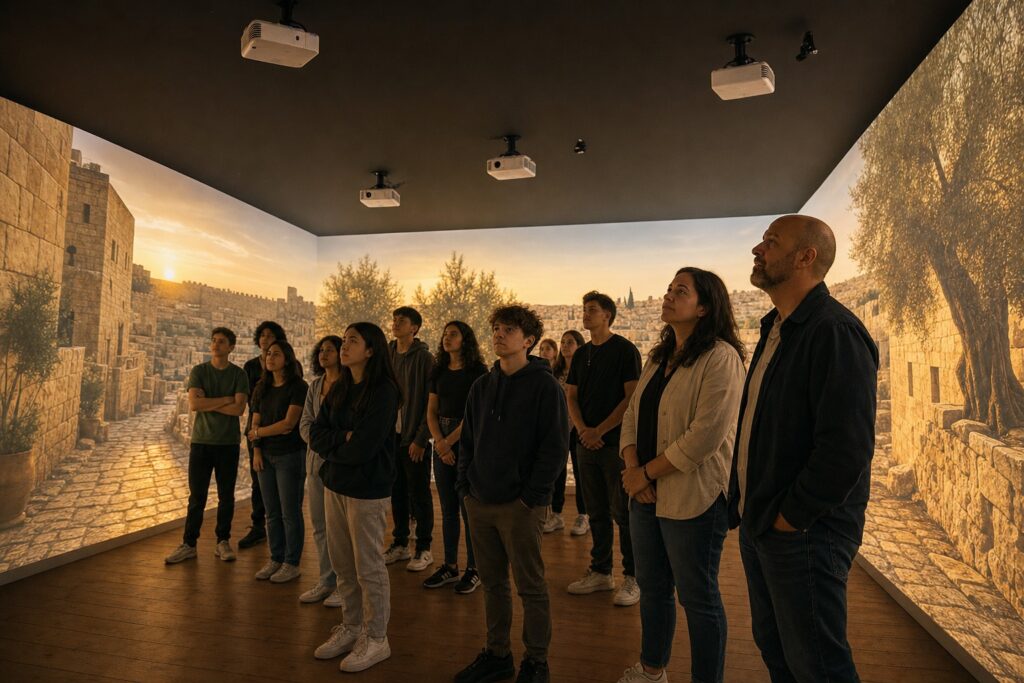
Youth groups and Sunday school classes walk the streets of the stories they study, with the Stand in the Story Bible Stories library and room for the whole group.
 Illustration
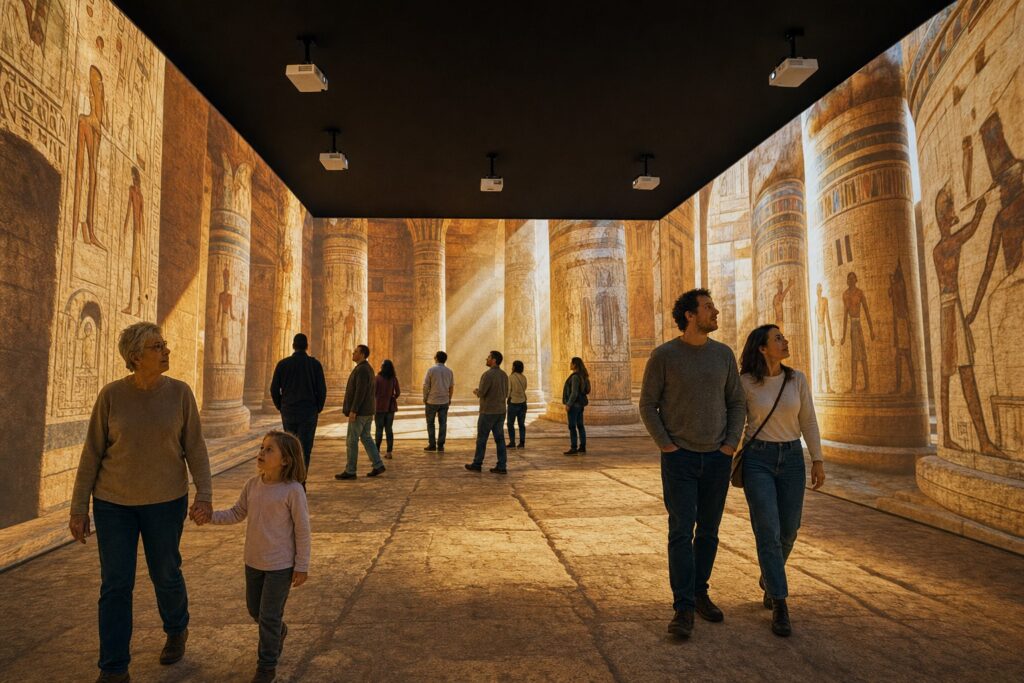
A gallery room that changes with every exhibition. Visitors of every age step into the place behind the objects, without a headset line at the door.
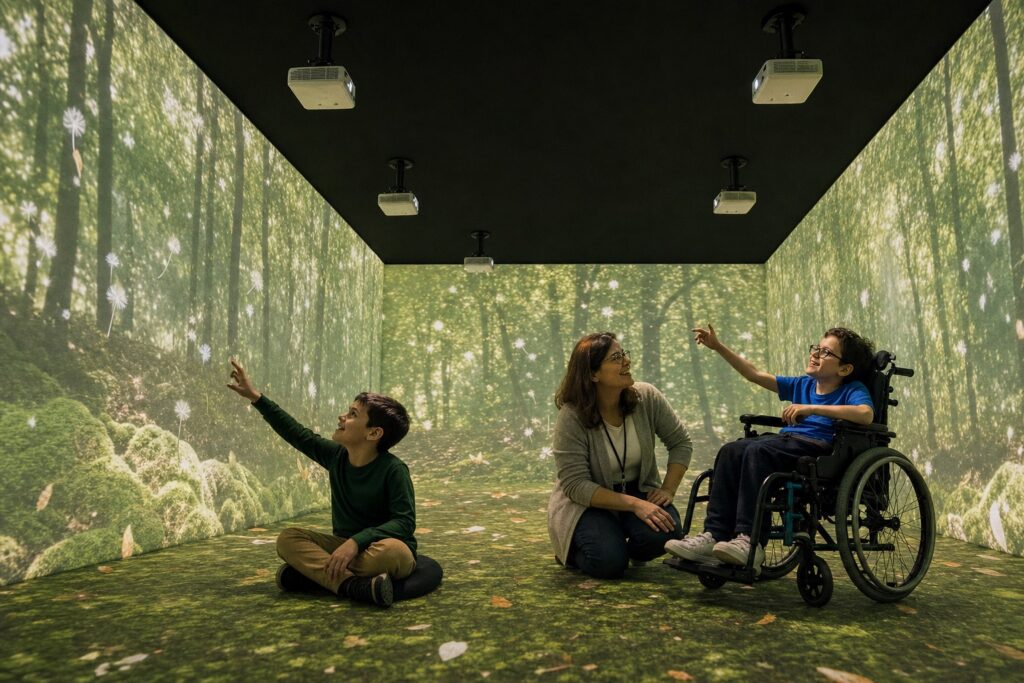 Illustration
A calm, predictable room that works for students who cannot or will not wear a headset, with scenes the teacher can slow down, pause and return to.
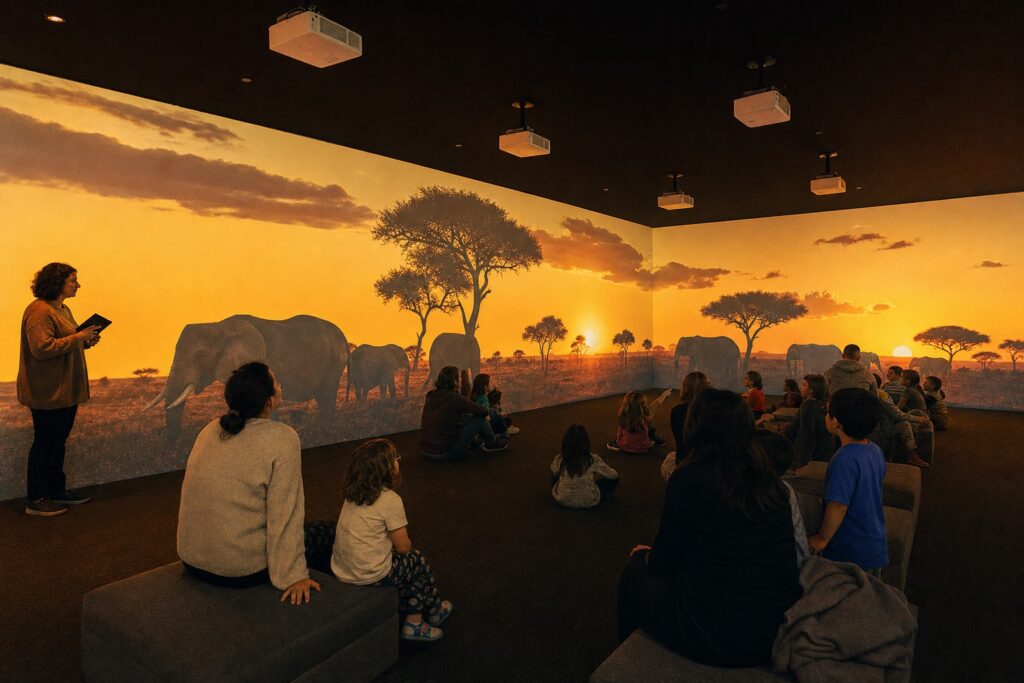 Illustration
Story hours, family nights and summer programs that people come back for, in a room that serves every age group on the calendar.
Projectors mounted on a black ceiling turn every wall you choose into a screen from the floor to the ceiling, so the scene surrounds the group.
One shared experience for a full class or congregation, with no queue for the next turn.
Lead the journey scene by scene, or let students explore at their own pace.
Audio placed for your room, so the waterfall sounds like it is across the room.
Start, pause and switch scenes from a tablet or laptop. No technician needed during class.
Use Tour Creator to add local landmarks, your campus or your own 360° photos.
Depending on the package, the floor can be projected too. Interactive touch walls, mood lighting and sensory effects can also be specified for your room.
Site survey, design, installation, staff training and ongoing support from one team.
RobotLAB Projection Studio transforms walls and floors into one continuous, immersive learning environment. A RobotLAB-certified technician team installs and configures the room. From then on, educators and operators take control through a simple web interface, and saved room configurations keep everyday operation simple, so your team can focus on creating engaging learning experiences.
Professional installation makes sure the room is perfect for the needs of your institution.
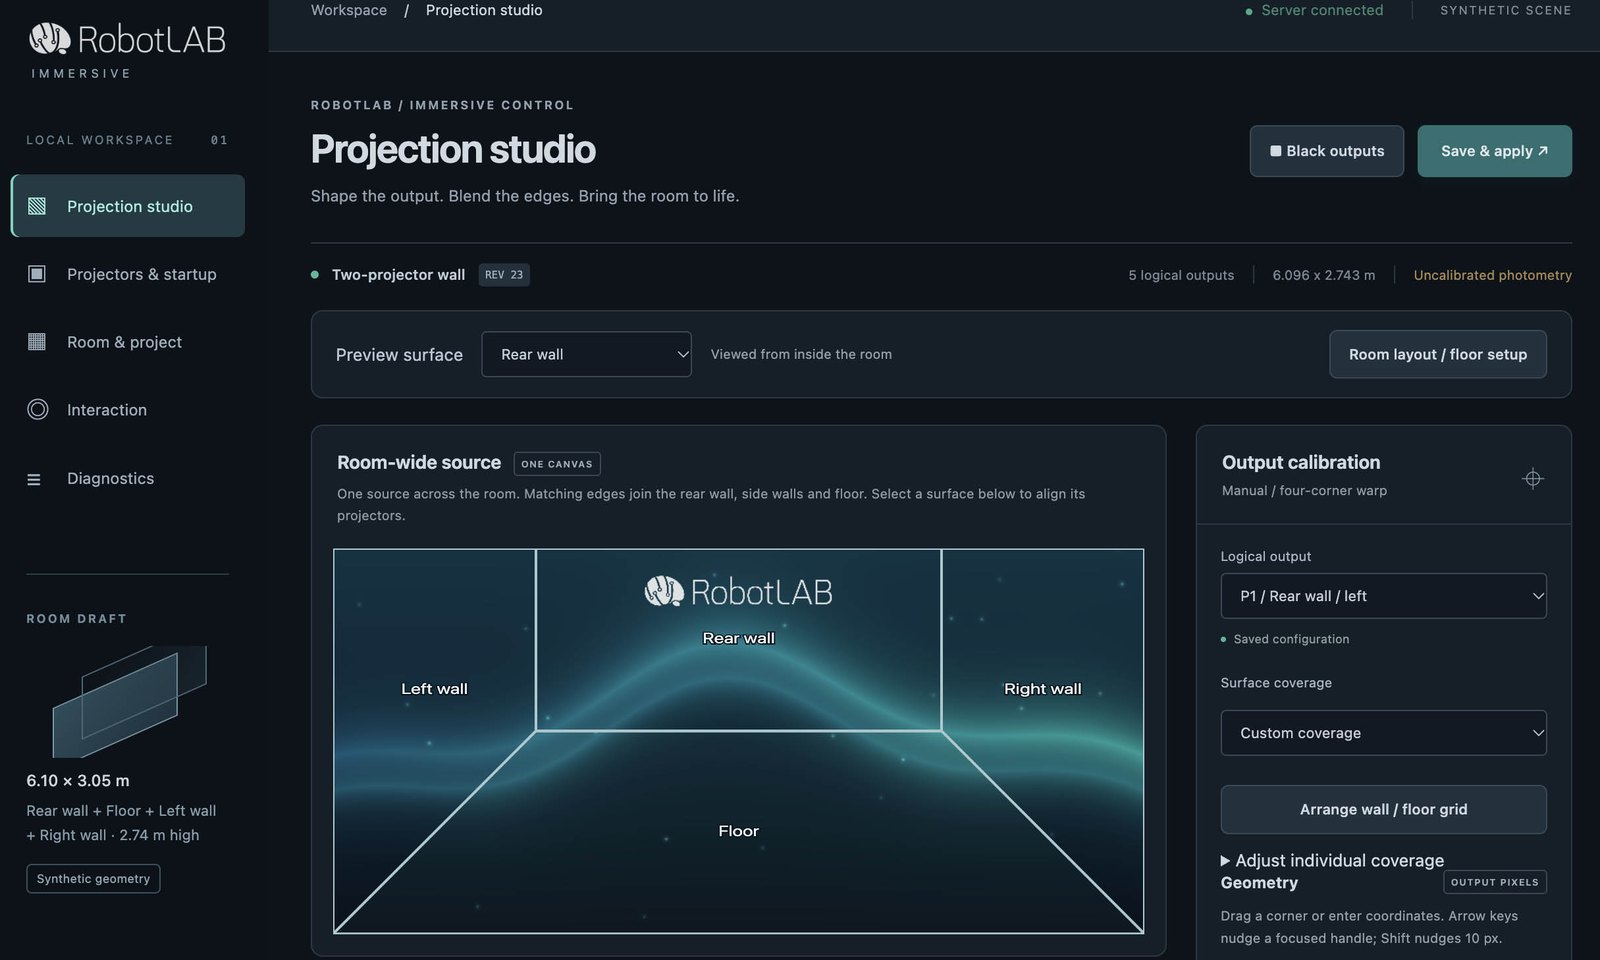 Screenshot
One canvas runs across the rear wall, side walls and floor. Pick a scene or upload an image, check each projector output, and black out the room with one click. Save & apply stores the room and keeps the previous version.
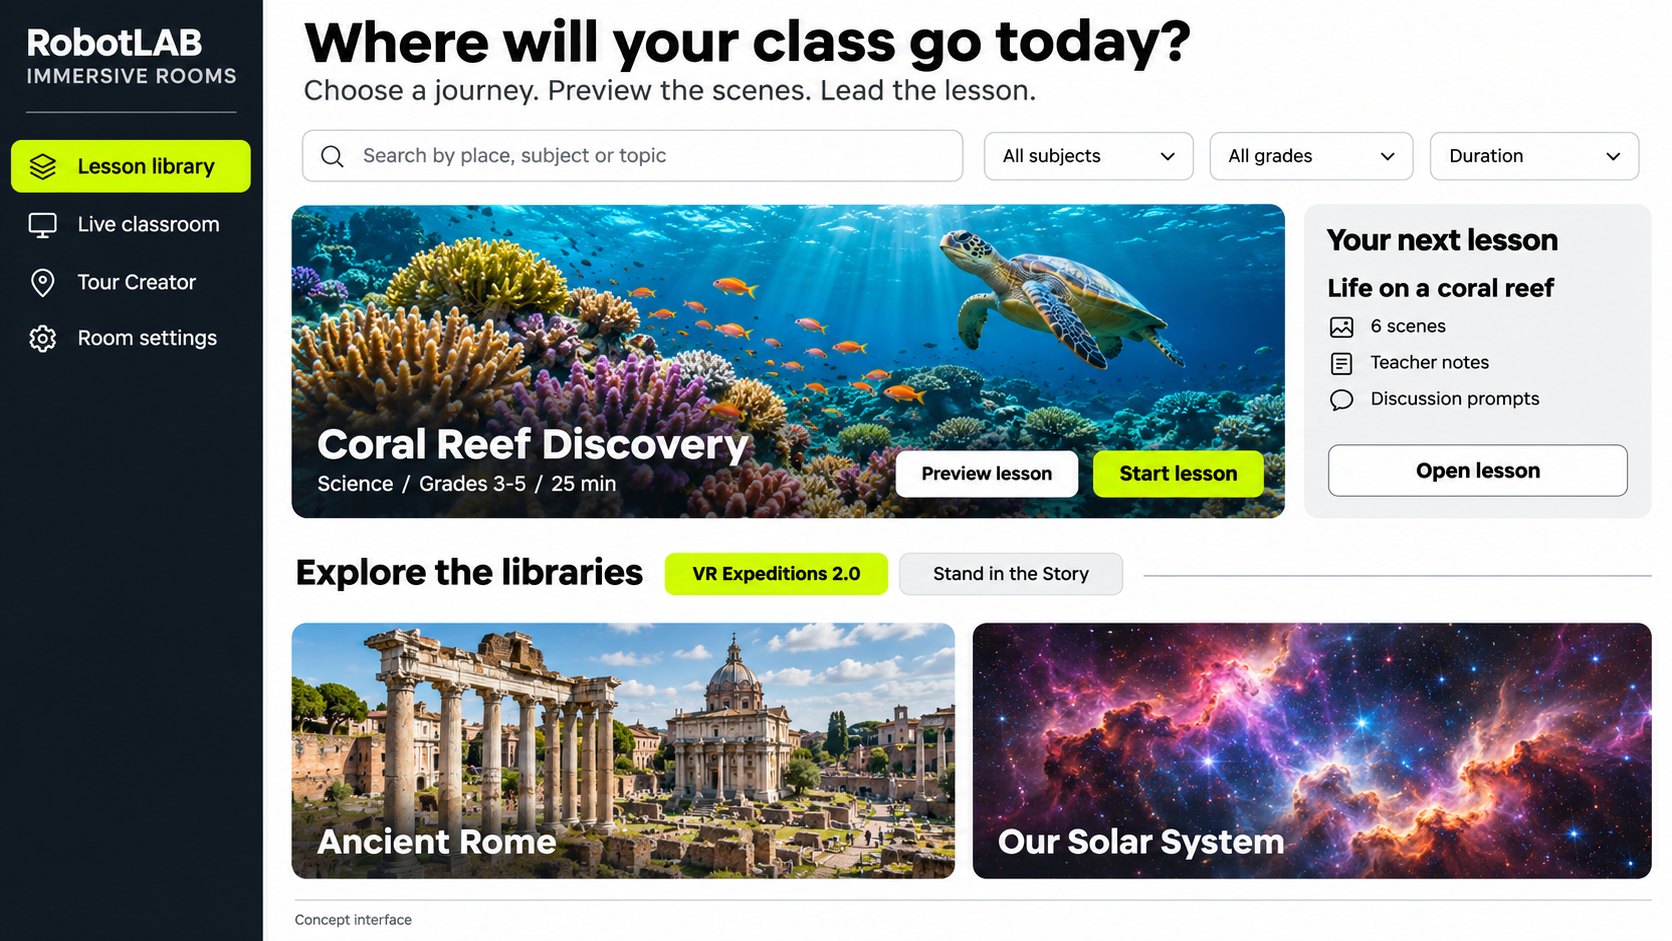 Concept interface
Search VR Expeditions 2.0® and Stand in the Story by place, subject or grade, preview the scenes, then start the lesson.
 Concept interface
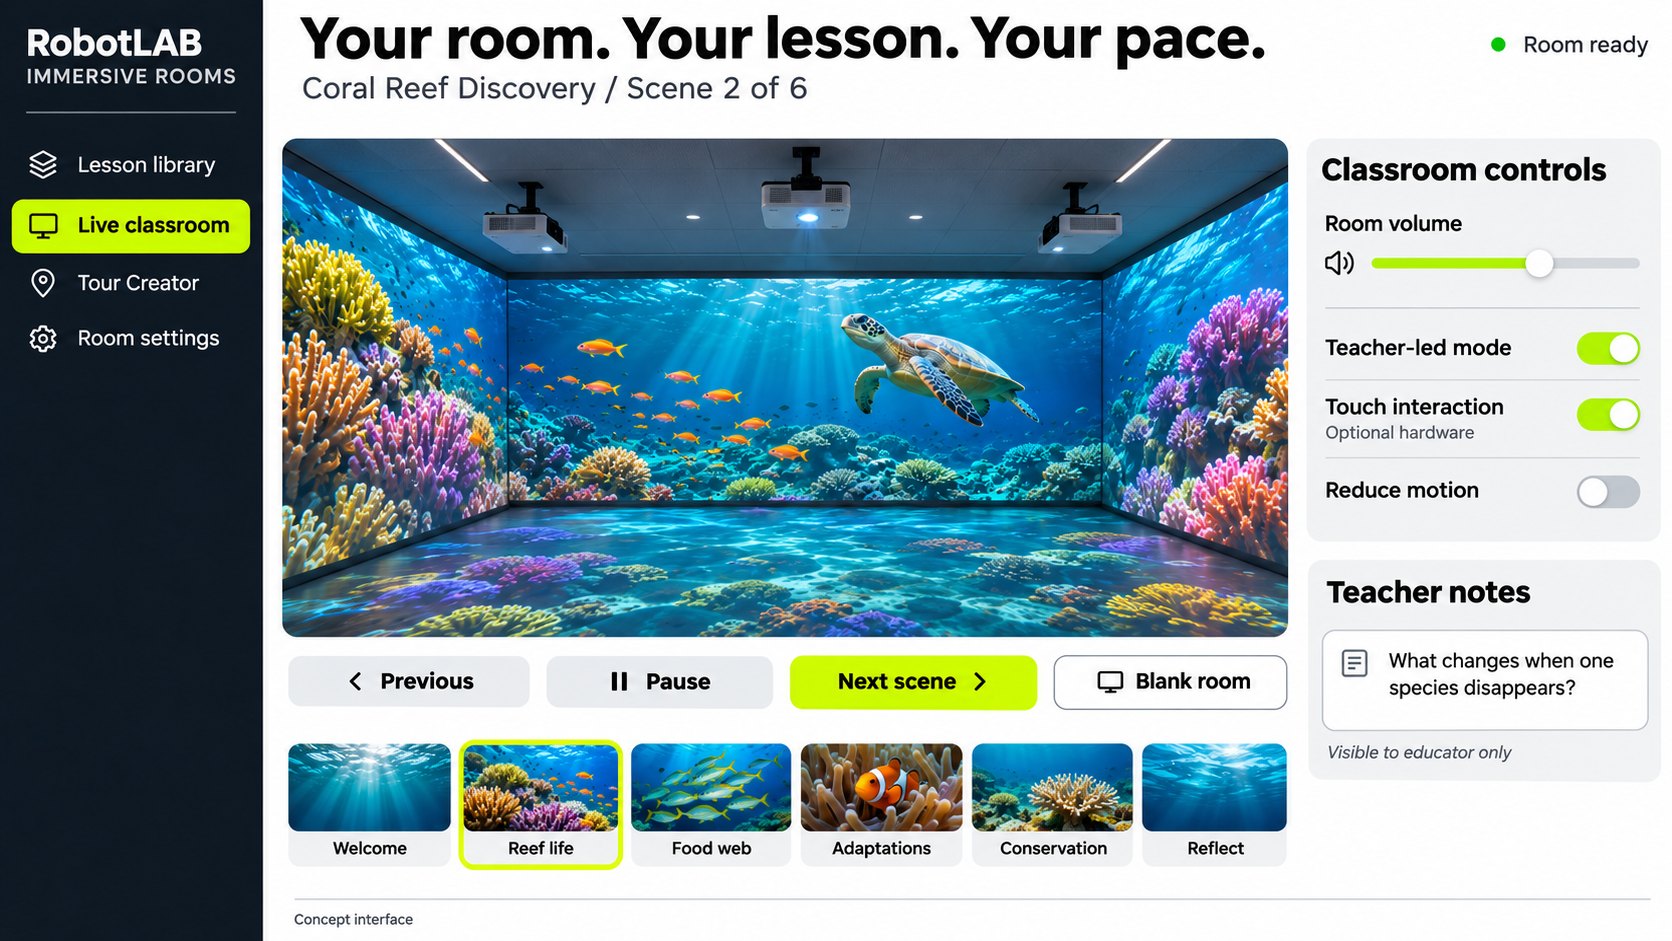
Move scene by scene, pause, or blank the room to bring attention back to you. Room volume and teacher notes sit beside the scene, and the notes stay on the educator's screen.
 Concept interface
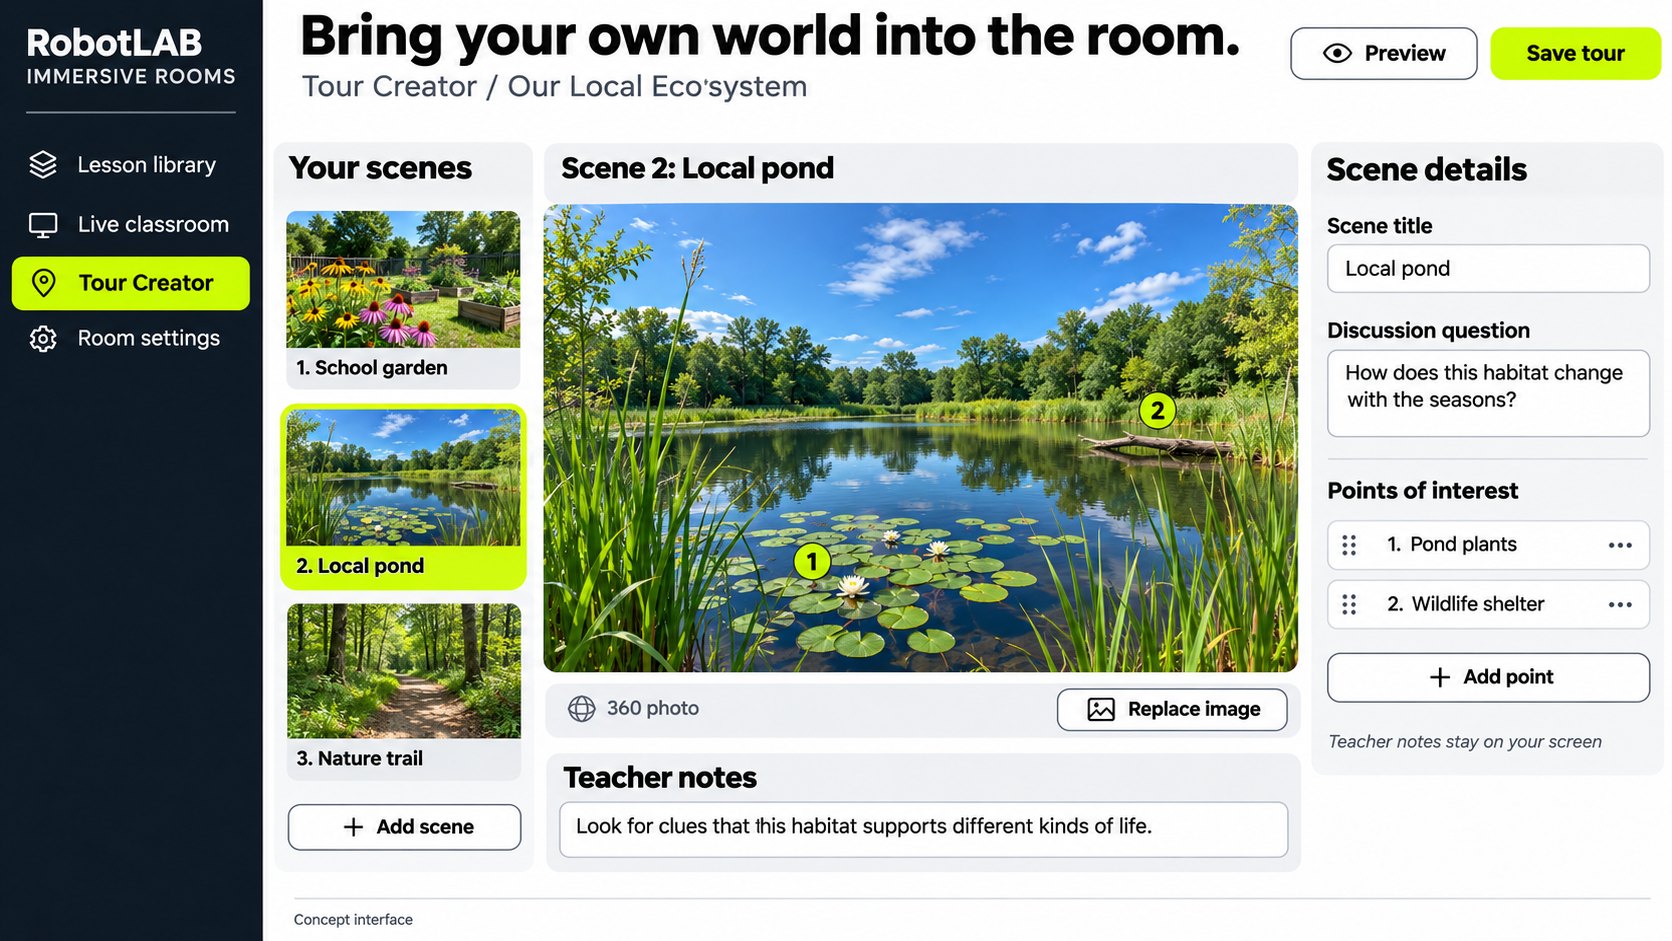
Add your own photos, from the school garden to a local pond, with points of interest, a discussion question and private teacher notes for each scene.
 Example layout
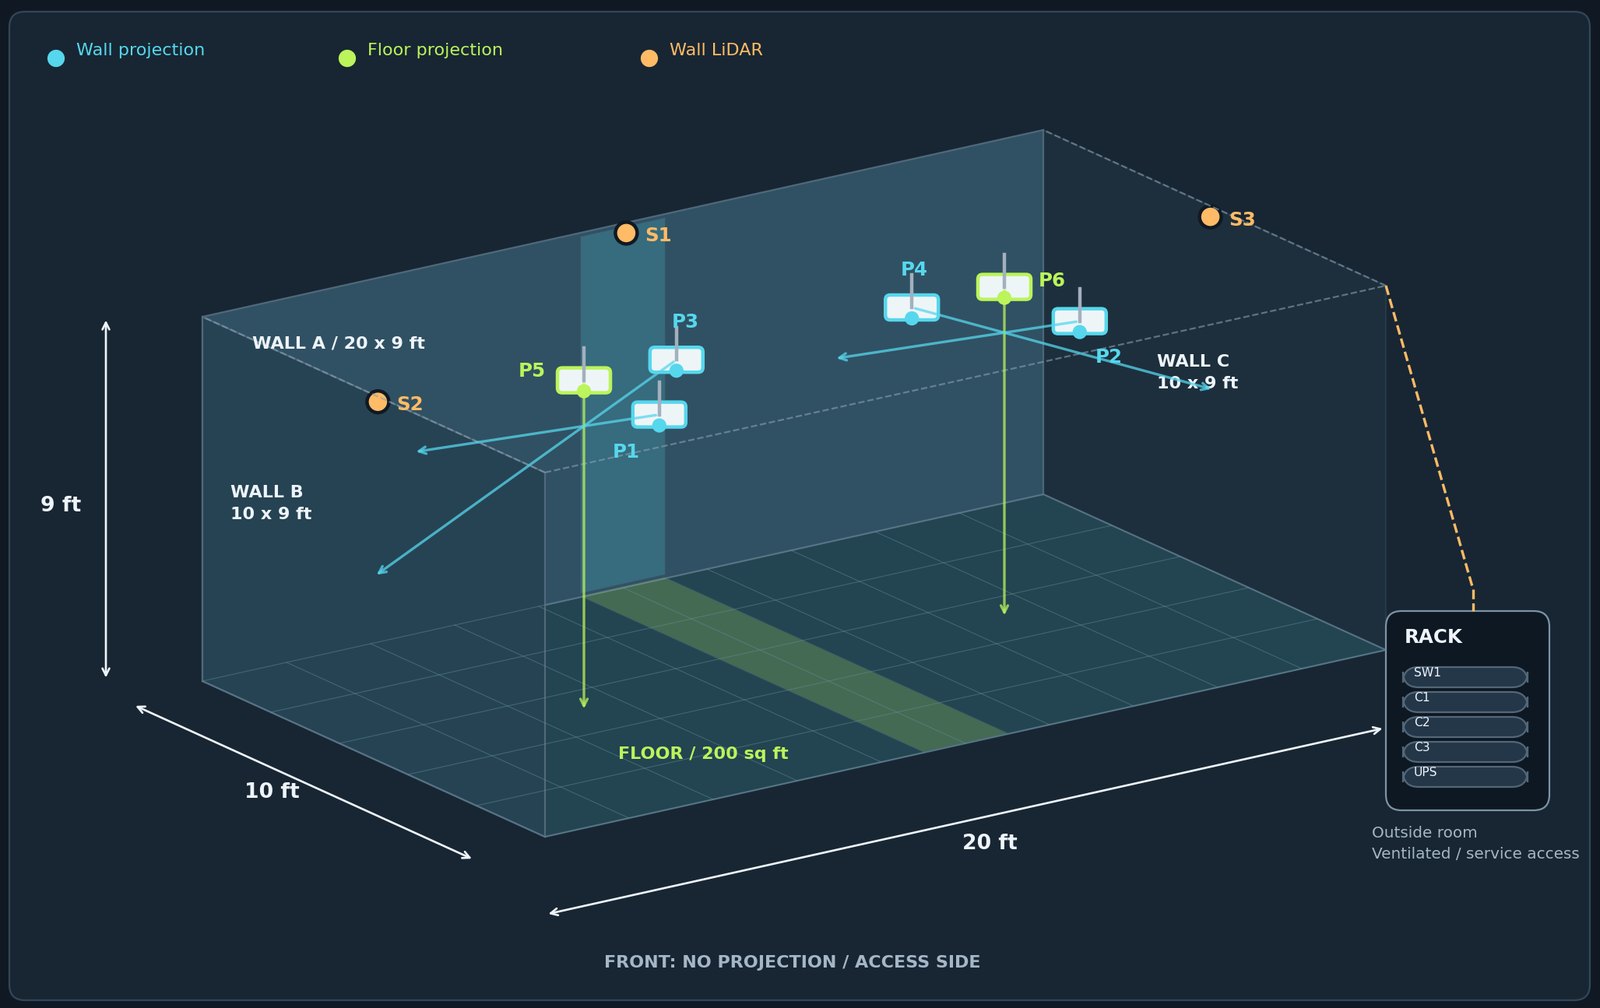
An example plan for a 20 × 10 ft room: ceiling-mounted projectors cover three walls and the floor, and the open side stays free as the entrance. Your technician team plans every room around its own measurements.
Pick the space and tell us who will use it: grades, group sizes and the subjects you want to bring to life.
We visit, measure the room and check light, power and ceiling height, then design the walls, sound and controls around it.
A RobotLAB-certified technician team installs and configures the room, and loads VR Expeditions 2.0® and the Stand in the Story libraries you choose.
Educators and operators learn Projection Studio: running a lesson, switching scenes, uploading images and building their own expeditions.
We stay on call for support, and new expeditions and scenes keep arriving in the libraries.
An empty room you can dedicate to it: a classroom, a spare office, a fellowship hall or a gallery. We visit, measure it and check the light, power and ceiling, then design the room around the space you have.
No. An Immersive Room needs no headsets at all. If you already have VR Expeditions 2.0® kits, keep them: headsets are great for individual exploration, and the room turns the same journeys into a shared experience for a whole class or group.
The room runs the VR Expeditions 2.0® library of virtual field trips, and the five Stand in the Story lesson libraries: Bible Stories, Greatest Civilizations, Scale: From Neutrons to Galaxies, Financial Literacy and Literature Comes Alive.
Yes. Teachers and students can build their own expeditions with Tour Creator, from local landmarks and museums to your own campus, and show them in the room.
Your own educators and operators. Once a RobotLAB-certified technician team has installed and configured the room, staff run it from RobotLAB Projection Studio, a simple web interface: select animated scenes, upload images, manage projector outputs, and pause or blank the projections. Saved room configurations keep everyday operation simple.
RobotLAB does, end to end: the site survey, the design, installation and configuration by a RobotLAB-certified technician team, staff training and ongoing support, from the same team that deploys and services our robots and VR kits nationwide.
Ask us for a quote for your room. Financing and leasing options are available, and we can help you plan it into your budget cycle.
Tell us about the room and the people who will use it. We will come back with a design and a quote.
Plan your roomLidia is an AI assistant. This conversation is stored and shared with the RobotLAB sales and support teams. Privacy policy
Chatting as · Not you?
You choose which categories of cookies are stored on your device. Strictly-necessary cookies are required for the site to function and cannot be disabled. Read more in our Privacy Policy.
Session, security, and the consent record itself. Required for the site to operate.
First-party tracking (Mautic, on t.robotlab.com) so we understand which pages and products visitors engage with and improve the site over time.
Advertising pixels (Google Ads, Meta Pixel) used to measure ad performance and show relevant ads on partner sites. Turning this off opts you out of CCPA "sale" of personal information.