
Cracks, Warping, Rippling, Drift... Tips to help your projects look their best on the very first try.
No More Warps and Cracks
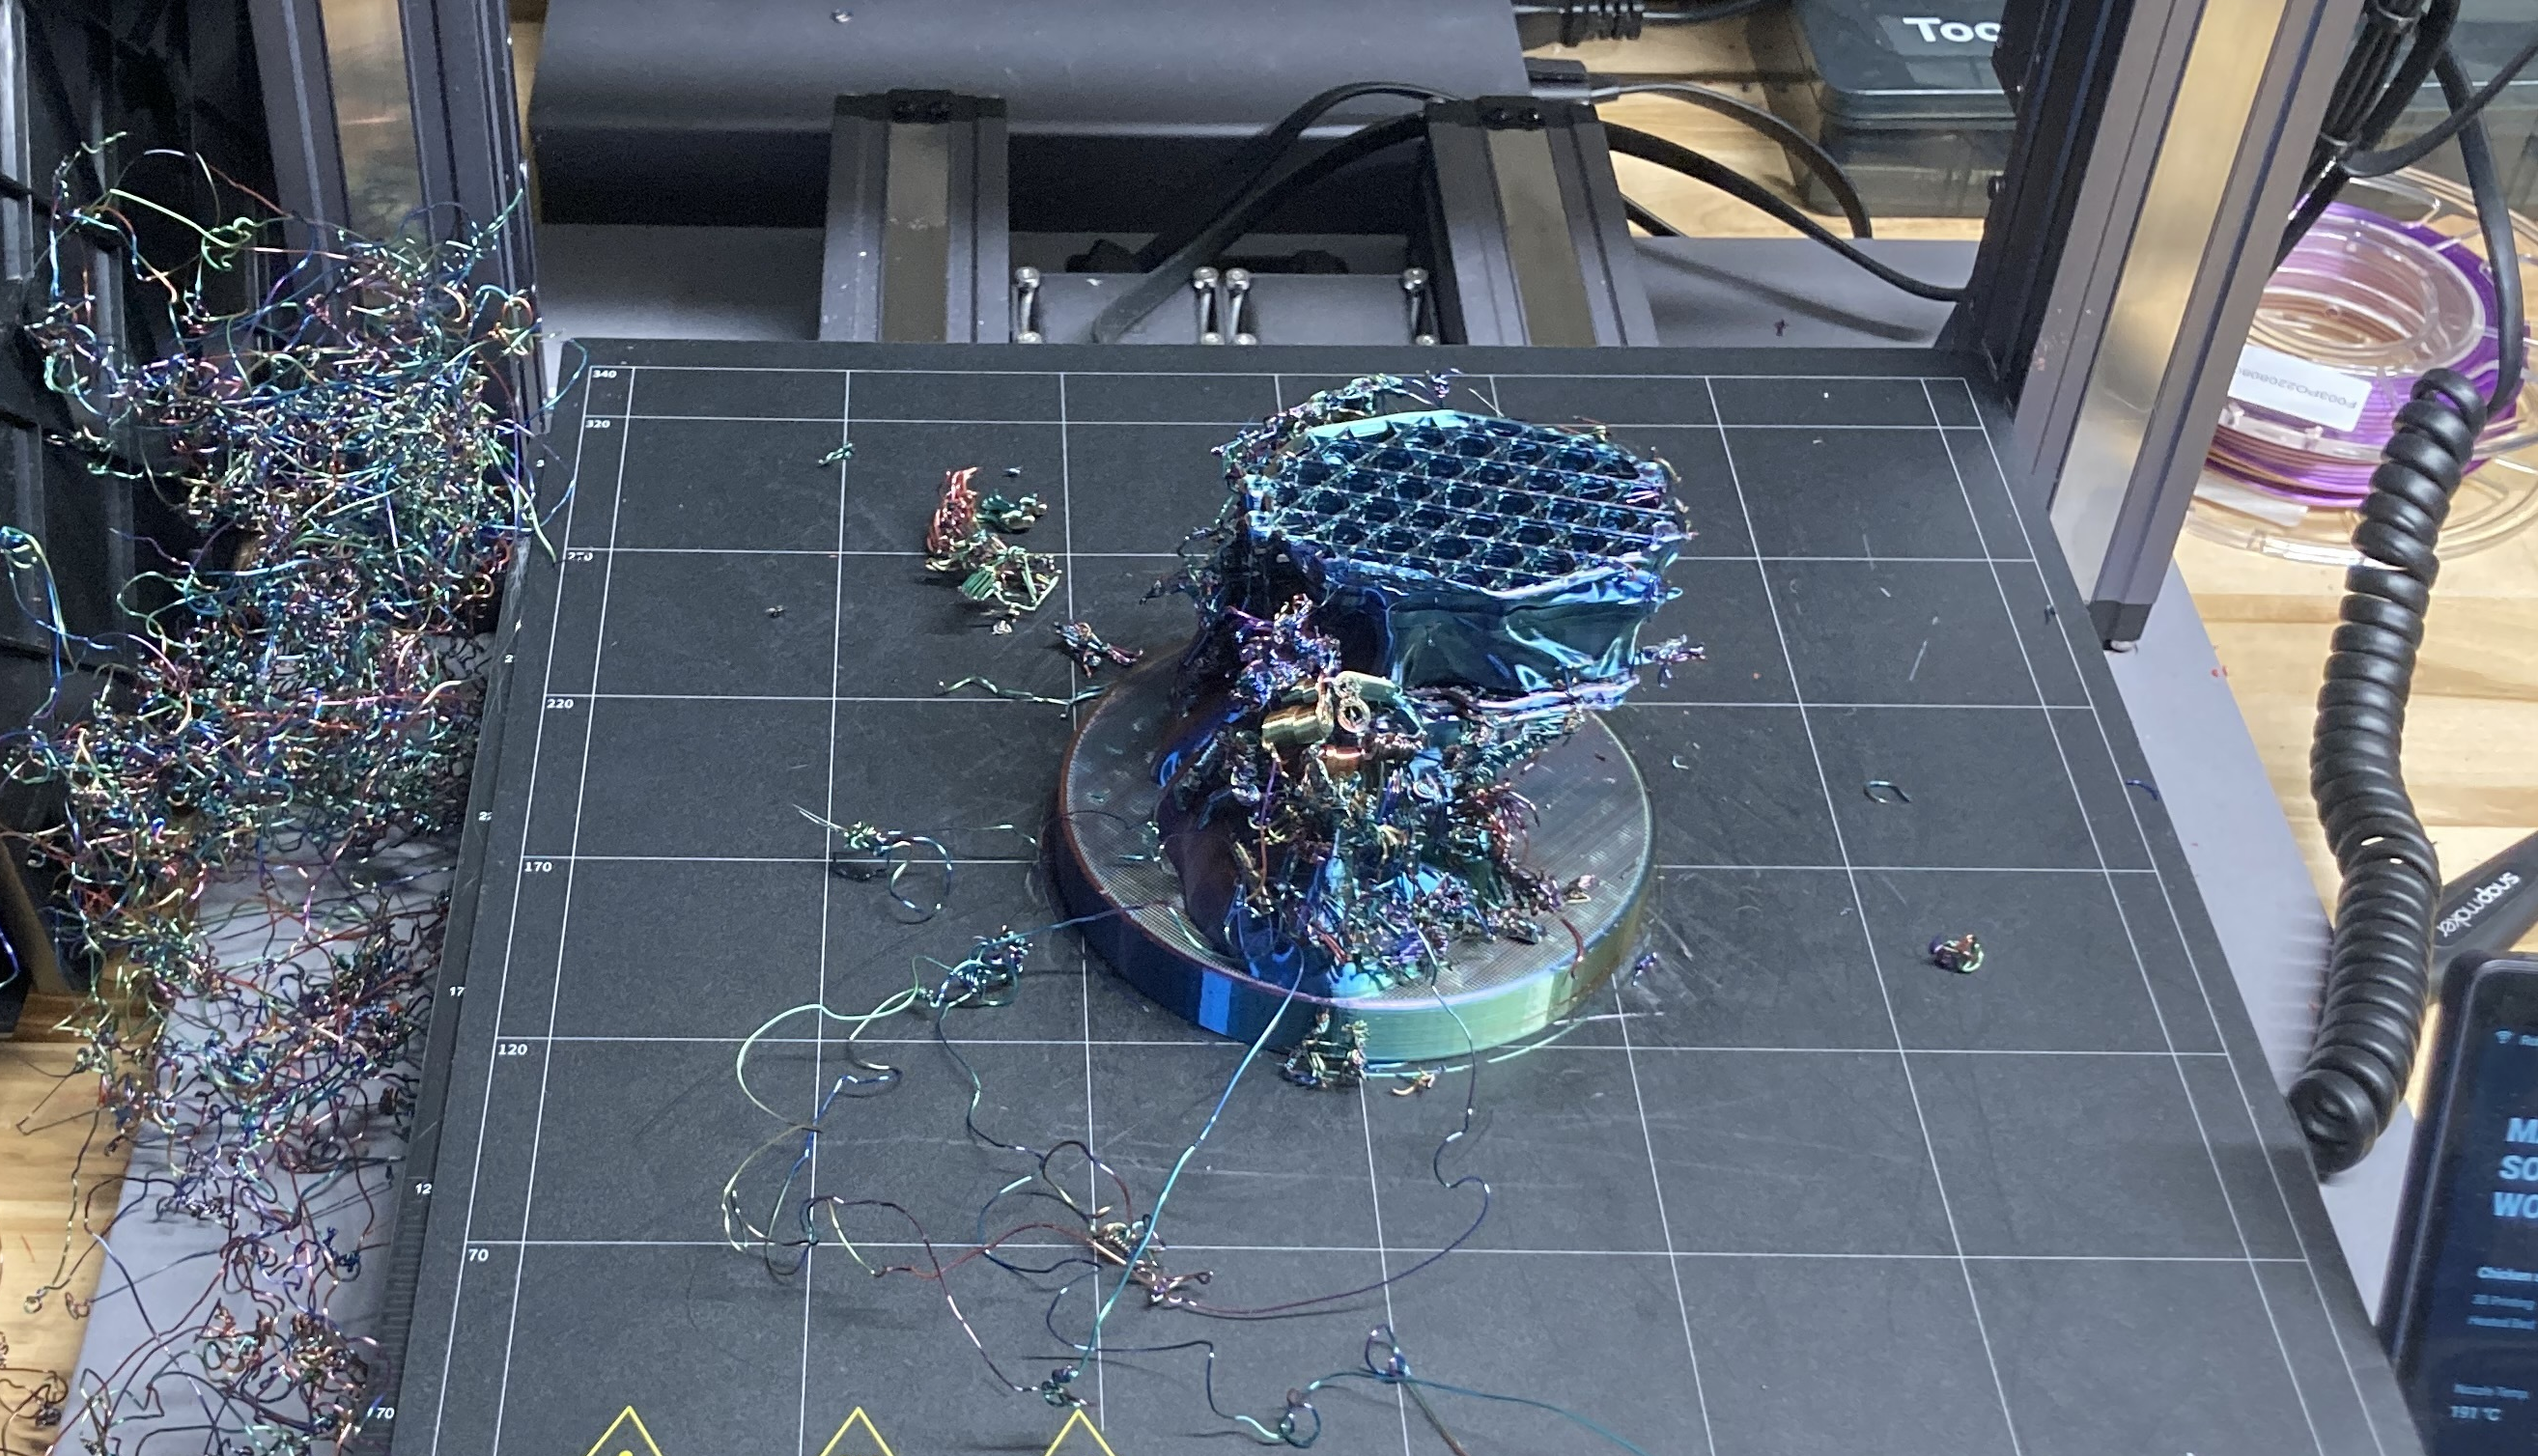
Are your prints curling off the build plate? This can happen during printing when the air around your print is too cool. Thermal expansion means that warmer layers closer to the extruder are shrinking, causing strain on the cooler layers below.
The shrinking layers pull at the stable layers, warping the object. If the bond between two layers isn’t strong, the strain of the warping layers can actually cause cracks in the sides of your objects.
Warping occurs more often with ABS than with PLA because ABS expands more when it’s heated.
For either type of plastic, warping can be reduced by warming up the area around your object.
No More Over Extrusion or Under Extrusion
Does it seem like there’s too much or too little plastic being used in your prints? This can happen when your filament doesn’t look or behave exactly how the slicing engine expects it to. Sometimes 1.75 mm plastic filament is actually closer to 1.65 mm or 1.85 mm. Your extruder can handle this range of sizes, but the slicer requires an accurate description of your filament to create a good toolpath.
1. Unspool a couple of feet of filament and use a caliper to measure it at several different points. Average out those measurements and note the averaged value.
2. Create a custom profile and click the Edit Profile button to open the config file in a text editor. Then find the correct “feedDiameter” setting. You will see two “feedDiameter” settings, one enclosed in each of the extruder profiles. Change the first “feedDiameter” setting if you are printing using the right extruder on your 3D printer and change the second “feedDiameter” setting if you are using the left extruder.
3. Save the config file and use your new custom profile to print.
If you are having trouble with the amount of plastic being extruded and the value entered for “feedDiameter” is accurate, look at the “feedstockMultiplier” setting. This setting compensates for any difference between the calculated volume of plastic going into the extruder and the actual amount of the plastic coming out of the extruder. Like the “feedDiameter” setting, the “feedstockMultiplier” setting appears twice in the config file – once in each of the two extruder profiles. When changing the “feedstockMultiplier” setting, make sure you choose the setting for the correct extruder.
If you are overextruding, increase the “feedstockMultiplier” setting by 0.05, save the config file, and print again.
If you are underextruding, decrease the “feedstockMultiplier” setting by 0.05, save the config file, and print your file again. Continue to decrease the value entered for this setting in increments.
No More Rippling
Do you see faint vertical ripples on the walls of your prints? This is due to mechanical feedback and occurs at higher speeds. Reduce your print speed.
To print quickly but avoid rippling, reduce your print speed only on outer shells. To do this, you must create a custom profile.
After you have created a custom profile, click the Edit Profile button to open the config file in a text editor. Find the “outlines” extrusion profile near the end of the config file. In this extrusion profile, find the “feedrate” setting. Enter a smaller number of millimeters per second, then save the config file and use your new custom profile to print.
No More Axis Drifting
Does it look like your whole print shifted sideways? This is the result of skipping on the X or Y-axis. This problem has multiple possible causes.
* Loose Belts: If the toothed belts that move the gantry are loose, the gear that drives them can start skipping over the teeth in the belt instead of grabbing onto them.
* Loose Drive Gear: If the drive gear in the extruder comes loose on the extruder motor shaft, the gear cannot grip the filament and drive it down into the extruder. Use the Disassembling an Extruder section on page 10 to remove the motor assembly from the extruder. Then:
1. Use the 2 mm hex wrench from the accessory box to remove the two bolts holding the drive block to the extruder motor. Remove the drive block and set it aside. Be careful with the drive block – if any of the pieces are detached, you might have a difficult time putting it back together.
2. Ensure that the drive gear is in the correct position on the motor shaft. The top of the drive gear should be about 2 mm from the end of the motor shaft. Locate the set screw that secures the gear to the motor shaft and make sure it touches the flat side of the motor shaft.
3. Use the 1.5 mm hex wrench from the accessory box to tighten the set screw against the motor shaft.
4. Return the drive block to the motor. Orient it so that the extruder lever arm points in the same direction as the white connector on the motor. Secure the drive block using the 2 mm hex wrench and the two bolts you removed earlier.
5. Return the extruder motor assembly to the extruder carriage.
6. Reconnect the motor wire harness to the top of the extruder motor.
7. As one piece, return the fan guard, the fan, the heat sink, and the spacers to the extruder. Use the 2.5 mm hex wrench to tighten the two bolts at the lower corners of the fan guard.